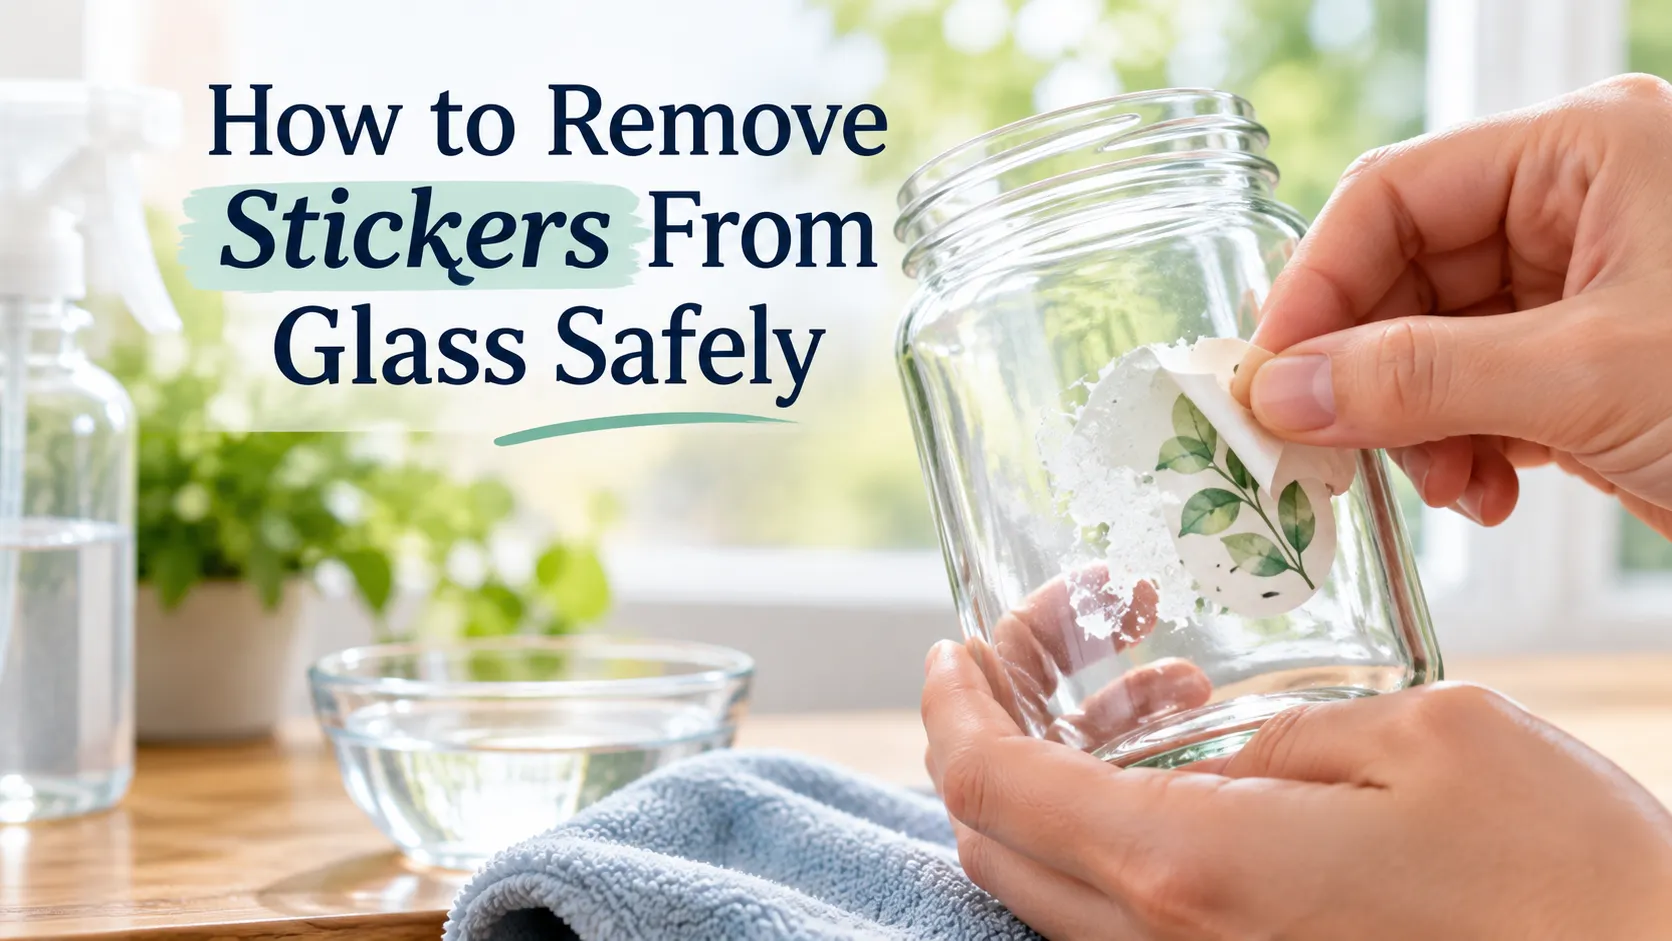
A sticker usually comes off glass more cleanly when you soften it before trying to peel or scrape it away. Start with warm soapy water when the surface allows it, lift the sticker gently, and deal with any remaining adhesive afterward.
Before using alcohol, adhesive remover, or a scraper, check what kind of glass you have. A plain jar gives you more options than a mirror, tinted car window, or glass with a coating or decorative film.
Check the Glass Before You Start
First determine whether the sticker sits on ordinary bare glass or on a surface with something added to it.
Jars, bottles, and basic household glass are generally the simplest cases. Windows may have tint, privacy film, decorative treatments, or specialized coatings. Mirrors also need extra care around their edges and backing.
Automotive glass deserves the same check. A sticker on an exterior side window is a different situation from one attached to the inside of a tinted window or heated rear window.
When film, tint, printing, or another finish is present, use the care instructions for that specific surface before applying a solvent or scraping tool. Do not assume that a cleaner considered suitable for bare glass will also be appropriate for the material attached to it.
Soften the Sticker Before You Peel
Removing a dry sticker by force often leaves you fighting small pieces of paper and a separate layer of glue. Softening the label first usually makes the mechanical part of the job easier.
For a washable jar, bottle, or similar object, use this order:
- Wet the sticker with warm water and a small amount of dish soap.
- Let the label absorb enough moisture to become easier to lift.
- Work up an edge with your fingernail or, on suitable plain glass, a plastic edge used with light pressure.
- Pull the sticker back slowly rather than jerking it away.
- Wet it again if the paper keeps tearing instead of increasing the scraping pressure.
Use warm rather than boiling water unless the manufacturer of the glassware says otherwise. Different types of glass handle rapid temperature changes differently, and extreme heat is unnecessary for routine sticker removal.
Waterproof vinyl stickers may not absorb water like paper labels. Concentrate moisture around the edges and work gradually rather than trying to scrub through the surface.
For a window or another piece of glass that cannot be soaked, hold a warm damp cloth against the label or repeatedly wet it with mild soapy water. Once an edge begins to release, start peeling instead of continuing to saturate the area.
Peel the Sticker Without Scratching the Glass
After the sticker has softened, try your fingernail first. A soft cloth can also help roll away loose paper or softened adhesive at an exposed edge.
On confirmed plain glass, a plastic card or plastic scraper may be useful when gentle pressure is enough to lift the label. Keep the tool relatively flat rather than pushing its edge sharply into the surface.
If the sticker starts tearing into tiny pieces, stop. More scraping is not necessarily the answer; another round of softening may let larger sections come away intact.
Avoid treating a razor blade or other metal scraper as a general-purpose household solution. Specialized glass-cleaning or graphic-removal procedures sometimes use blades under controlled conditions, but that does not make the same technique suitable for every type of window, coating, film, or decorative surface.
Once the visible sticker is gone, check the area with your fingertips. A clean-looking patch may still have a thin tacky layer that needs separate treatment.
Remove Sticky Residue From the Glass
Adhesive residue does not always require the same treatment as the label that covered it. Start mild rather than applying a strong product to the entire area.
Wash the remaining patch again with warm soapy water and rub it gently with a soft cloth. This can remove softened glue along with bits of paper that were left behind.
If ordinary, uncoated glass is still sticky, you can consider a product suitable for adhesive residue. Depending on the surface, options may include rubbing alcohol, a small amount of cooking oil, or a commercial adhesive remover specifically labeled for use on glass.
The surface matters more than the strength of the cleaner. Some manufacturers allow isopropyl alcohol on particular window films, for example, but that does not make alcohol universally appropriate for every tint or coating.
Oil is more convenient on washable objects such as jars because the remaining oily film can be washed away afterward. On a large window or around the edge of a mirror, it is usually less practical.
For a commercial adhesive remover, read the label before use. Confirm that glass is an approved surface and check whether the product has additional restrictions for coatings, tint, painted areas, or plastics nearby.
When trying an unfamiliar cleaner on a finished surface, test a small inconspicuous area first. Stop if you notice haze, discoloration, or another visible change.
Adjust the Method for Different Glass Surfaces
The basic process is similar across many objects, but the safest starting point changes with the surface.
| Glass surface | Practical first approach | Main caution |
|---|---|---|
| Glass jar or bottle | Warm soapy water followed by gentle peeling | Use warm rather than extreme water temperatures |
| Household window | Warm damp cloth or mild soapy water | Check first for film, tint, or specialized coatings |
| Mirror | Apply cleaner to a cloth or sponge and work carefully | Keep excess liquid away from exposed edges and dry them promptly |
| Car side window | Mild cleaning and gentle peeling | Confirm whether tint film is present before using solvents or tools |
| Heated rear window | Follow the vehicle manufacturer’s cleaning guidance | Avoid sharp tools or harsh chemicals that could damage defroster grid lines |
| Decorative or coated glass | Follow the manufacturer’s care method | Do not assume a bare-glass treatment is compatible |
A price label on a washable jar therefore does not need the same decision process as a decal on an automotive window. Begin with the surface rather than choosing the strongest sticker-removal product you have available.
Avoid Aggressive Shortcuts
Most household stickers can be approached without abrasive scrubbing or strong solvents. When a label is stubborn, the safer response is usually to reassess the surface and repeat a compatible mild treatment before escalating.
Avoid these approaches unless the instructions for the particular surface clearly allow them:
- abrasive pads, powders, or cleaners on polished, coated, or finished glass;
- metal scraping when the glass type and surface treatment are uncertain;
- strong solvents on tint, decorative film, printed areas, or coatings without compatibility guidance;
- extreme temperature changes;
- heavy repeated scraping on a sticker that has not softened.
Mirrors need particular attention around the perimeter. Apply cleaner to the cloth or sponge rather than flooding the mirror, and dry the edges promptly instead of leaving liquid to collect there.
For a heated rear vehicle window, be especially cautious on the inside surface. Sharp objects or unsuitable chemicals can damage the defroster grid, so the vehicle manual should guide any treatment beyond mild cleaning.
Check the Glass After the Sticker Is Gone
Finish by cleaning the treated area with a method suitable for that particular glass. Inspect it in good light and from more than one angle; a thin adhesive film can sometimes be easier to feel than to see.
If the surface is still tacky, repeat the mildest compatible treatment that was making progress. On a plain glass jar, that may simply mean another wash or a second residue treatment. With tint, coatings, mirrors, or automotive glass, surface compatibility should determine the next step rather than automatically reaching for a stronger solvent or sharper tool.